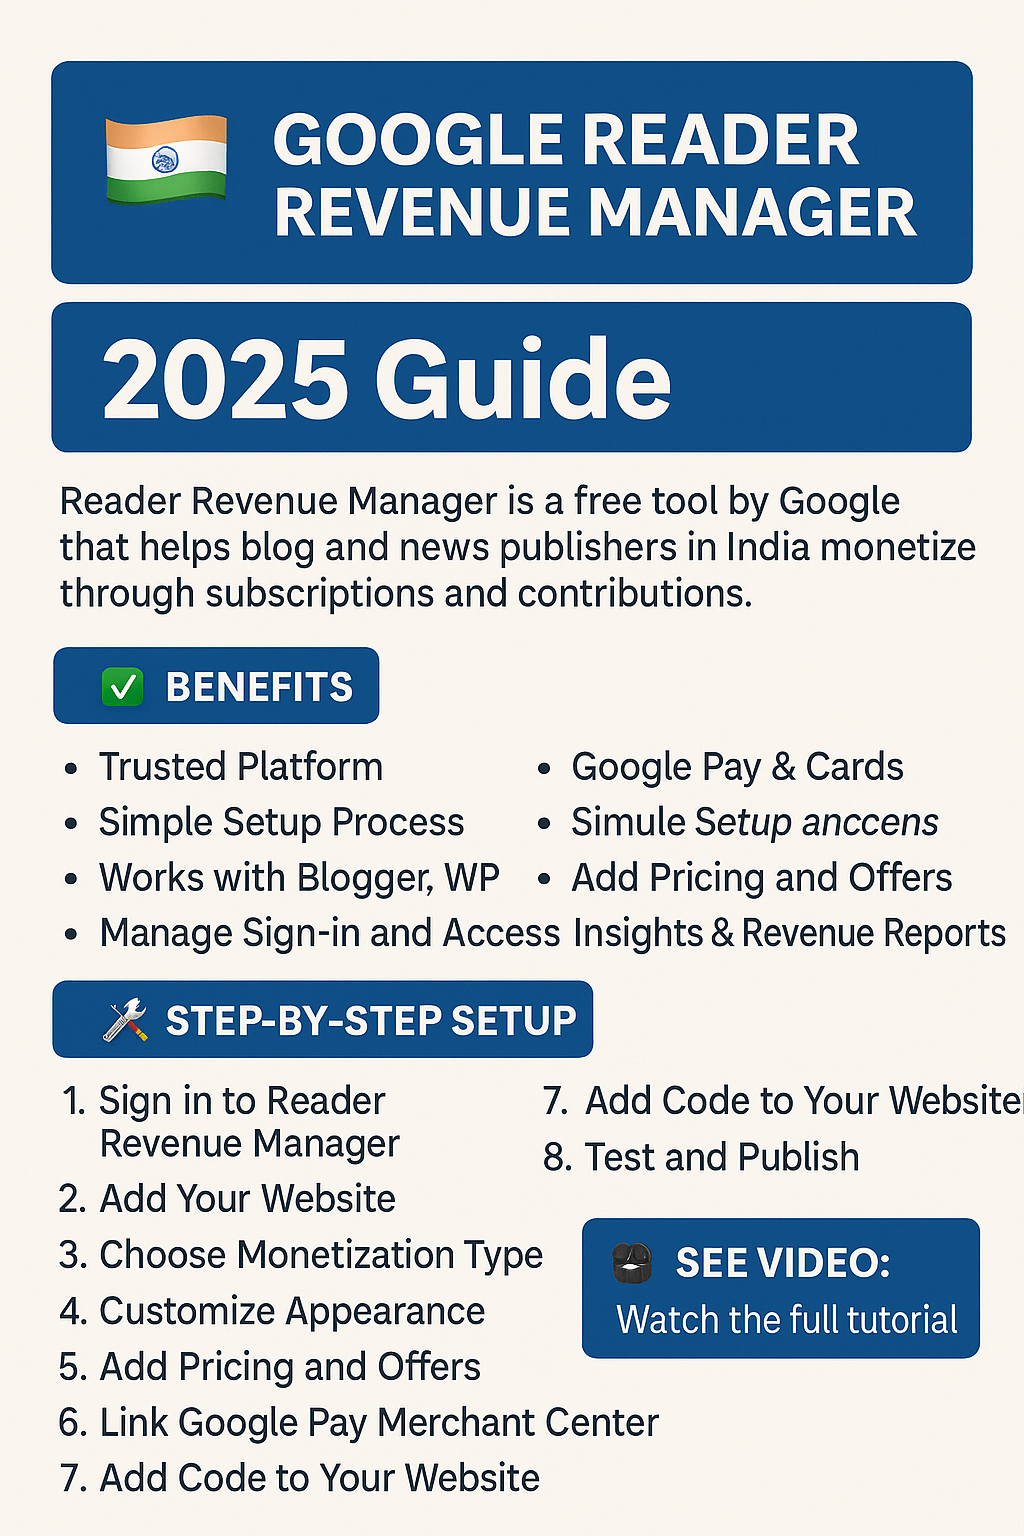
📘 Google Reader Revenue Manager for Indian Publishers – Comprehensive Guide (2025)
💡 What is Reader Revenue Manager?
Reader Revenue Manager is a complimentary tool provided by Google that helps website owners, bloggers, and news publishers generate income from their audience.
You can collect donations, offer paid subscriptions, or restrict content behind a paywall.
🎯 It’s ideal for:
- 📰 News outlets
- ✍️ Bloggers
- 📚 Educational websites
- 🙏 Religious or trust organizations accepting donations
✅ Advantages of Utilizing Reader Revenue Manager
- 🔒 Reliable platform from Google
- 💳 Accept payments via Google Pay, debit/credit cards
- 🧑💻 No complicated coding required
- 🌐 Works with Blogger, WordPress, and custom websites
- 🔐 Easily manage user sign-ins and access
- 📊 Get insights and revenue statistics
🇮🇳 Are Indians Eligible to Use It?
Absolutely! Indian publishers can fully take advantage of this tool.
Requirements include:
- 🌍 A functioning content website (news, blog, etc.)
- 📧 A Google account
- 🔍 A verified domain in Google Search Console
- 🏦 A Google Payments Merchant Account (available in India)
- 🧾 PAN, GST (optional), and a bank account for payments
🛠️ Step-by-Step Setup Instructions
Step 1: Log in to Reader Revenue Manager
- 🔗 Visit: Reader Revenue Manager
- 🔐 Click “Get Started” and sign in with your Google account
Step 2: Add Your Website
- 🌐 Enter your website name and URL
- ✔️ Verify domain via Google Search Console
- 📍 Set your primary audience location to India
Step 3: Select Monetization Type
- 💸 Contributions – Accept one-time or recurring donations
- 🔐 Subscriptions – Monthly or yearly paid access
Step 4: Customize Appearance
- 🖼️ Upload your logo
- 🎨 Choose color, font, layout
- ✍️ Write a compelling message for your readers
Step 5: Set Pricing and Offers
- 📅 Choose pricing like ₹49/month or ₹499/year
- 🔐 Define what content is behind the paywall
- 💰 Suggest donation options like ₹50, ₹100, ₹500
Step 6: Connect to Google Pay Merchant Center
- 🏢 Register at Google Pay for Business
- 📝 Enter business info (PAN, bank details)
- 🔗 Link to your Revenue Manager
Step 7: Insert Code into Website
- 💻 Copy the JavaScript code from Google
- 🧩 Paste into your site’s
<head>section - 🔧 Use “Insert Headers and Footers” plugin if on WordPress
Step 8: Test and Launch
- 🔁 Test login and payment flow
- 📱 Preview on mobile and desktop
- 🚀 Click “Publish” to go live
💰 How Will You Receive Payments?
Google manages all transactions. Payments will be deposited into your linked bank account in INR.
You can monitor earnings through your Google Payments Merchant Center.
📌 Final Recommendations
- 📢 Promote your support/subscription features clearly
- 🔐 Offer exclusive content to paying users
- 💸 Start with affordable prices to build trust
- ⚠️ Avoid pirated tools – Use official and safe options only

1 Comment
📥 Free Download Altium Designer for Windows PC – Complete Guide (2025 - KAMALDNP
May 22, 2025[…] 📝 Final Thoughts […]